How to run Python and Portray on Netlify
Originally published on Scotch.io
Recently I was floored to hear Netlify’s name on the excellent TalkPython podcast as a place to host Python web development projects. Let’s talk about why I originally thought Python doesn’t work on Netlify, and why that is wrong.
TL;DR: In this post we cover how to set up any Python Static Site Generator to deploy on Netlify, using the newly launched Portray documentation generator as an example.
Python is for the Web, too
First, some personal history. In my previous career, I used Python for data analysis, thanks to the awesome time series and data munging capabilities of pandas and numpy. Today, as a part time Machine Learning student, I use frameworks like scipy and Tensorflow to declaratively create neural networks and data pipelines. So: a lot of number crunching, not very much web development.
Over time, I slowly learned that people are creating web experiences using Python too. A previous startup I worked at used the venerable and full featured Django framework, while I am aware that Flask and Pyramid are lighter weight frameworks (here’s a full list I found).
However, these are all server-side based technologies. This comes with all the complexities of deploying and scaling servers, which are well documented issues that often have little to do with the business goals you actually want to achieve, like continuously deploying your site. So I figured that Python would not be a popular JAMstack language.
40 Python Static Site Generators (and counting!)
It turns out I had a massive blind spot. Python has a rich set of Static Site Generators! I went to StaticGen.com and filtered for the Python language and found 40 SSG’s:
- Acrylamid: Static blog or site generator
- Bang: Quirky text processor and static website generator.
- Blended: The Most Versatile Static HTML Site Generator
- Blo: Static site generator for easy personal blogging
- Blogofile: A static website compiler and blog engine, written and extended in Python
- BootDown: Extremely simple static sites with Markdown and BootStrap.
- Cactus: Static site generator for designers.
- django-distill: django-distill lets you to create and publish a static website from any Django project.
- docnado: A rapid documentation tool to blow you away! Batteries and style included; you just need to type.
- drupan: trying to hit the sweet spot between simplicity and being feature rich enough for every use case.
- Elsa: Helper module for hosting Frozen-Flask-based websites on GitHub Pages
- Frozen-Flask: Frozen-Flask freezes a Flask application into a set of static files.
- Grow: Grow is a declarative, file-based static site generator for building maintainable, high-quality websites.
- Halwa: Halwa is a single file static site generator written in Python.
- Hyde: Jekyll’s evil Python powered twin
- Landspout: A simple static site generation tool
- Lektor: A static content management system that can deploy to any webserver.
- makesite.py: Simple, lightweight, and magic-free static site/blog generator for Python coders.
- MkDocs: Project documentation with Markdown.
- Nikola: A static website and blog generator
- Pagegen: Manage sites and blogs, SEO friendly.
- Pelican: A static site generator, imports from Wordpress, multi-lang publishing.
- PieCrust2: PieCrust is a static website generator and flat-file CMS
- Poole: A simple Markdown static site generator.
- Prosopopee: A static website generator that allows you to tell a story with your pictures
- PyKwiki: Markdown based authoring with static search.
- pystatic: Dead simple, one-line, few options static website generator. Just write your stuff instead of learning generators.
- QPage: QPage or QuickPage is a free project for creating academic homepage without any code
- Sphinx: A tool that makes it easy to create intelligent and beautiful documentation, written by Georg Brandl.
- staticjinja: Effortlessly deploy static sites with Jinja2.
- Statify: Simple, lightweight, one file static site generator, Powered by Python 3 & Jninja2.
- Statik: A simple, generic, static web site generator for developers.
- Tags: The simplest static site generator
- Tarbell: Simple static sites for storytellers.
- Tinkerer: Tinkerer is a blogging engine/static website generator powered by Sphinx
- Tiny SSG: static site generator built with Python, with some interesting features for pre-processing the images.
- Urubu: A micro CMS for static websites
- Vite: A simple and minimal static site generator
- wok: Toss some content, templates, and media in a pan and fry it up!
- YASBE: Yet Another Static Blog Engine
And just yesterday, I found a new one, Portray, at the top of Hacker News! Clearly this innovation is not over.
Static Site Generators are resoundingly JAMstack. That means Netlify should support Python based SSGs too. Let’s see if we can!
Deploying Portray (or any Python SSG) on Netlify
First I have to figure out how to get portray up and running. I have Python 3 installed, so I installed portray using pip3:
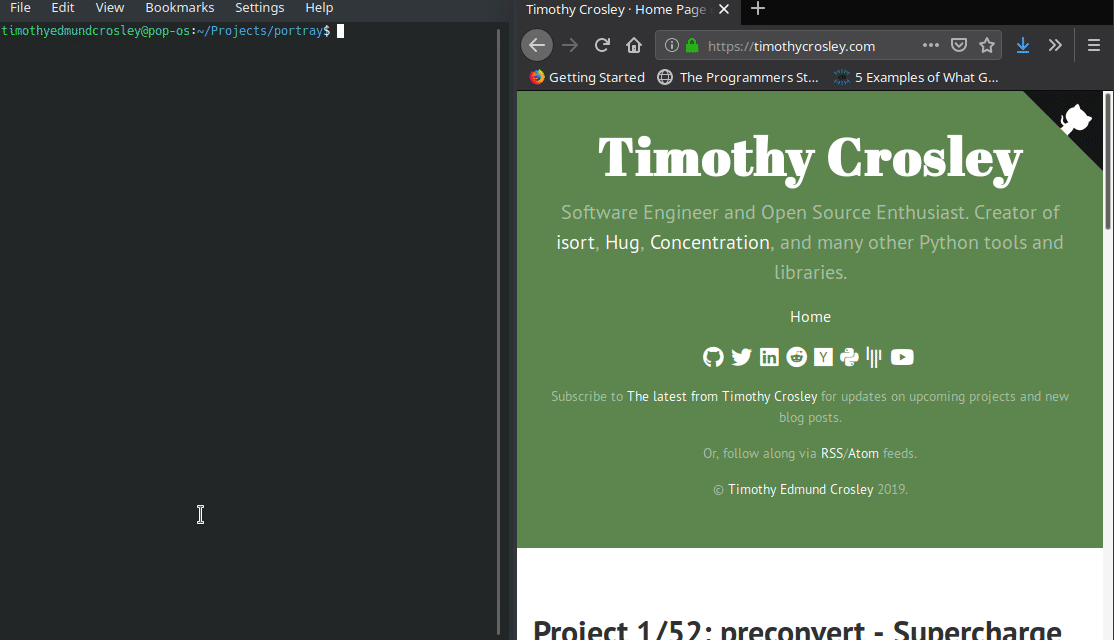
pip3 install portrayI needed a sample portray project to show some docs, so why not portray portray? I forked the project and cloned it locally:
git clone https://github.com/YOUR_USERNAME_HERE/portray
cd portray
portray in_browser
This launched a local dev server in 127.0.0.1:8000 and ensured that I knew how this web development thing works 😅
Portray has a built in deploy to GitHub Pages functionality, but we’ll want to configure this for deployment to Netlify for some other features:
- Deploy Previews, the #1 killer feature for open source documentation projects or team collaboration
- HTTPS by default
- Continuous Deployment (so all you need to do to update your docs is literally edit them in GitHub, which you can do on your phone)
- Forms for comments, file storage and other simple user input
- Functions for anything else more complex
Netlify still defaults to Python 2.7 (👿) so we’ll need to fix it to 3.7 (which Portray needs) according to the Netlify docs:
# runtime.txt
3.7
We’ll also want to get Netlify to install Portray itself via requirements.txt:
# requirements.txt
portray==1.0.5
That sets up the environment, but the final step is to configure the build setup (aka tell Netlify the information it needs to do things for you). There are a few equivalent ways to do this, so I’ll walk through 3 of the most popular. What’s common among all of them is you need to know upfront:
- the build
command:portray as_html(what command you type into your terminal to do a production build of your site) - the
publishfolder:site(what folder the above build command builds to, so we only publish this specific folder to our CDN)
Option 1: Configuring Build Commands through Netlify Web UI
With an existing Netlify account, head to https://app.netlify.com/start and select the appropriate repo. Then fill in the build command and deploy directory:

That’s it! That sets up the site and continuous deployment for you and gives you the basis for all the other features of Netlify.
Option 2: Configuring Build Commands through the Netlify Dev CLI
This is for the people (like me!) who rather not leave their terminals. With the Netlify CLI installed and logged in, you can take any project and run a single command to set it up for a new site:
# at the project root
netlify init
If your project has a git remote (on GitHub, GitLab or Bitbucket), it will set up continuous deployment for you, else it will assume you want a “manual deploy” (you can fix this later with netlify link). The CLI will ask you for the build command and deploy directory and scaffold out the netlify.toml config file for you:
# example netlify.toml
[build]
  command = "portray as_html"
  publish = "site"

## more info https://www.netlify.com/docs/netlify-toml-reference/
If you need to do manual deployments, you can always run netlify deploy --prod, but we do encourage continuous deployment from git as a best practice.
Option 3: One Click Deploy Buttons
The netlify.toml file explained above is useful for more than deploying just your site. If you check it into git, then people who fork your repo also get this configuration for free. Try it! We have this set up as a nice Deploy to Netlify button you can add to your README:
 Deploy To Netlify (I used a text link because Scotch.io is buggy)
That sets up the fork and a new site in one click!
Python is my JAM
Hopefully this is helpful for any Python users out there looking for a great way to host their JAMstack sites (particularly docs) on Netlify.